Having a worn out lower ball joint on your vehicle can cause steering and suspension problems. But getting stuck with a big mechanic bill for replacing them can be frustrating. Luckily, with some common tools found in most garages and a bit of elbow grease, you can tackle replacing lower ball joints yourself without having to buy expensive specialty tools. In this DIY guide, I’ll walk through the steps to get your lower ball joint replaced without breaking the bank.

Required Tools
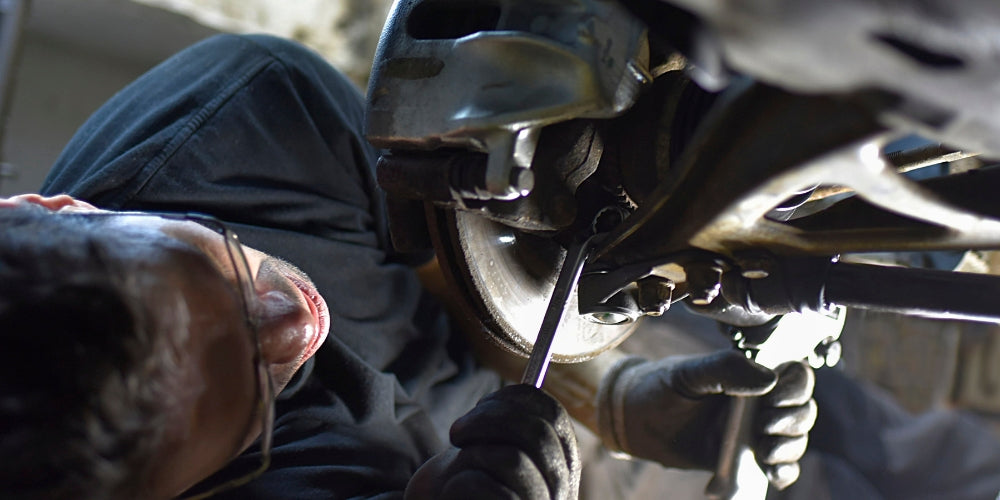
Here are the basic tools you’ll need for removing and installing ball joints:
- Basic wrench set or adjustable wrench
- Ball peen hammer or small sledgehammer
- Pry bar
- Penetrating oil spray
- Jack and jack stands
- Torque wrench
- Clean rags
- Brake parts cleaner
Make sure you have these ready before starting. For added leverage, using OMT's extra long adjustable wrench can help break loose stubborn bolts.
Steps to Remove Lower Ball Joint
1.Break Loose the Retaining Nut
Start by loosening the nut holding the ball joint to the control arm using a wrench. An OMT self-locking wrench is perfect for this, as it will grip the nut tightly. If the nut is stuck, apply penetrating oil and let it soak for 15 minutes before trying again.
2.Separate the Taper
Insert a pry bar between the knuckle and control arm near the ball joint. Use a hammer to strike the pry bar to forcibly detach the tapered shaft from the knuckle. Take care not to damage any components.
3.Force the Retaining Nut Off
Place a wrench on the nut again and give it firm strikes with the hammer to get it spinning off the threads. It may take many attempts to finally get it disconnected.
4.Pull Out the Ball Joint
Position the pry bar under the ball joint housing and give it some hits to pop the ball stud out of the knuckle. Inspect the condition of the old unit.
5.Clean the Knuckle
Use rags and brake parts cleaner to thoroughly clean the empty ball joint socket hole and remove all old grease and debris. Check for any damage or wear.
6.Install New Ball Joint
Carefully insert the ball stud of your new ball joint into the empty knuckle socket. Hand thread the retaining nut a few turns before torquing it down to spec with a torque wrench.
Tips and Warnings
- Always wear eye protection when hammering on tools.
- Use jack stands and chock wheels for safety when under the vehicle.
- Letting penetrating oil soak overnight helps loosen stuck bolts.
- Look for damaged ball joint boots or play indicating replacement is needed.
- If the knuckle is badly worn, it may also need replacement.
- Leave the job to a professional mechanic if you lack the skills or proper tools.
With some perseverance and the right technique, you can tackle ball joint replacement in your own garage without specialty tools and save money in the process. Just take it slow and be cautious not to damage any components.
If you find the DIY removal process daunting, you can also gain professional-level help by purchasing OMT's specialty ball joint removal tool kits. Their heavy duty ball joint separators and hydraulic remover tools are specially designed to make quick work of removing stuck ball joints with minimal effort. While DIY is achievable, having OMT's professional ball joint tools can greatly speed up the process and make removal damage-free.
